Deploying Debezium on OpenShift
The following describes how to set up the Debezium connectors for change data capture on Red Hat’s OpenShift container platform.
These instructions have been tested using the Minishift tool — allowing you to run a single node OpenShift instance locally on your machine.
You can find a complete example of this set-up using Minishift in our examples repository.
And if you want to get started even quicker, try out the Debezium online learning scenario. It starts an OpenShift cluster just for you, allowing you to take your first steps with Debezium in your browser just within a few minutes.
Debezium Deployment
For setting up Kafka and Kafka Connect on OpenShift, a set of images provided by the Strimzi project can be used, which offers "Kafka as a Service". It consists of enterprise grade configuration files and images that bring Kafka to OpenShift.
First, install the operators and templates for the Kafka broker and Kafka Connect into our OpenShift project:
export STRIMZI_VERSION=0.13.0
git clone -b $STRIMZI_VERSION https://github.com/strimzi/strimzi-kafka-operator
cd strimzi-kafka-operator

# We need to create security objects as part of installation so it is necessary to switch to admin user
oc login -u system:admin
oc create -f install/cluster-operator && oc create -f examples/templates/cluster-operator
Next, deploy a Kafka broker cluster and a Kafka Connect cluster and then create a Kafka Connect image with the Debezium connectors installed:
# Deploy an ephemeral single instance Kafka broker
oc process strimzi-ephemeral -p CLUSTER_NAME=broker -p ZOOKEEPER_NODE_COUNT=1 -p KAFKA_NODE_COUNT=1 -p KAFKA_OFFSETS_TOPIC_REPLICATION_FACTOR=1 -p KAFKA_TRANSACTION_STATE_LOG_REPLICATION_FACTOR=1 | oc apply -f -

# Deploy a single instance of Kafka Connect with no plug-in installed
oc process strimzi-connect-s2i -p CLUSTER_NAME=debezium -p KAFKA_CONNECT_BOOTSTRAP_SERVERS=broker-kafka-bootstrap:9092 -p KAFKA_CONNECT_CONFIG_STORAGE_REPLICATION_FACTOR=1 -p KAFKA_CONNECT_OFFSET_STORAGE_REPLICATION_FACTOR=1 -p KAFKA_CONNECT_STATUS_STORAGE_REPLICATION_FACTOR=1 -p KAFKA_CONNECT_VALUE_CONVERTER_SCHEMAS_ENABLE=false -p KAFKA_CONNECT_KEY_CONVERTER_SCHEMAS_ENABLE=false | oc apply -f -

# Build a Debezium image
export DEBEZIUM_VERSION=1.1.2.Final
mkdir -p plugins && cd plugins && \
for PLUGIN in {mongodb,mysql,postgres}; do \
    curl http://central.maven.org/maven2/io/debezium/debezium-connector-$PLUGIN/$DEBEZIUM_VERSION/debezium-connector-$PLUGIN-$DEBEZIUM_VERSION-plugin.tar.gz | tar xz; \
done && \
oc start-build debezium-connect --from-dir=. --follow && \
cd .. && rm -rf plugins
After a while all parts should be up and running:
oc get pods
NAME READY STATUS RESTARTS AGE
broker-entity-operator-5fb7bc8b9b-r86nz 3/3 Running 1 4m
broker-kafka-0 2/2 Running 0 4m
broker-zookeeper-0 2/2 Running 0 5m
debezium-connect-3-4sdjr 1/1 Running 0 1m
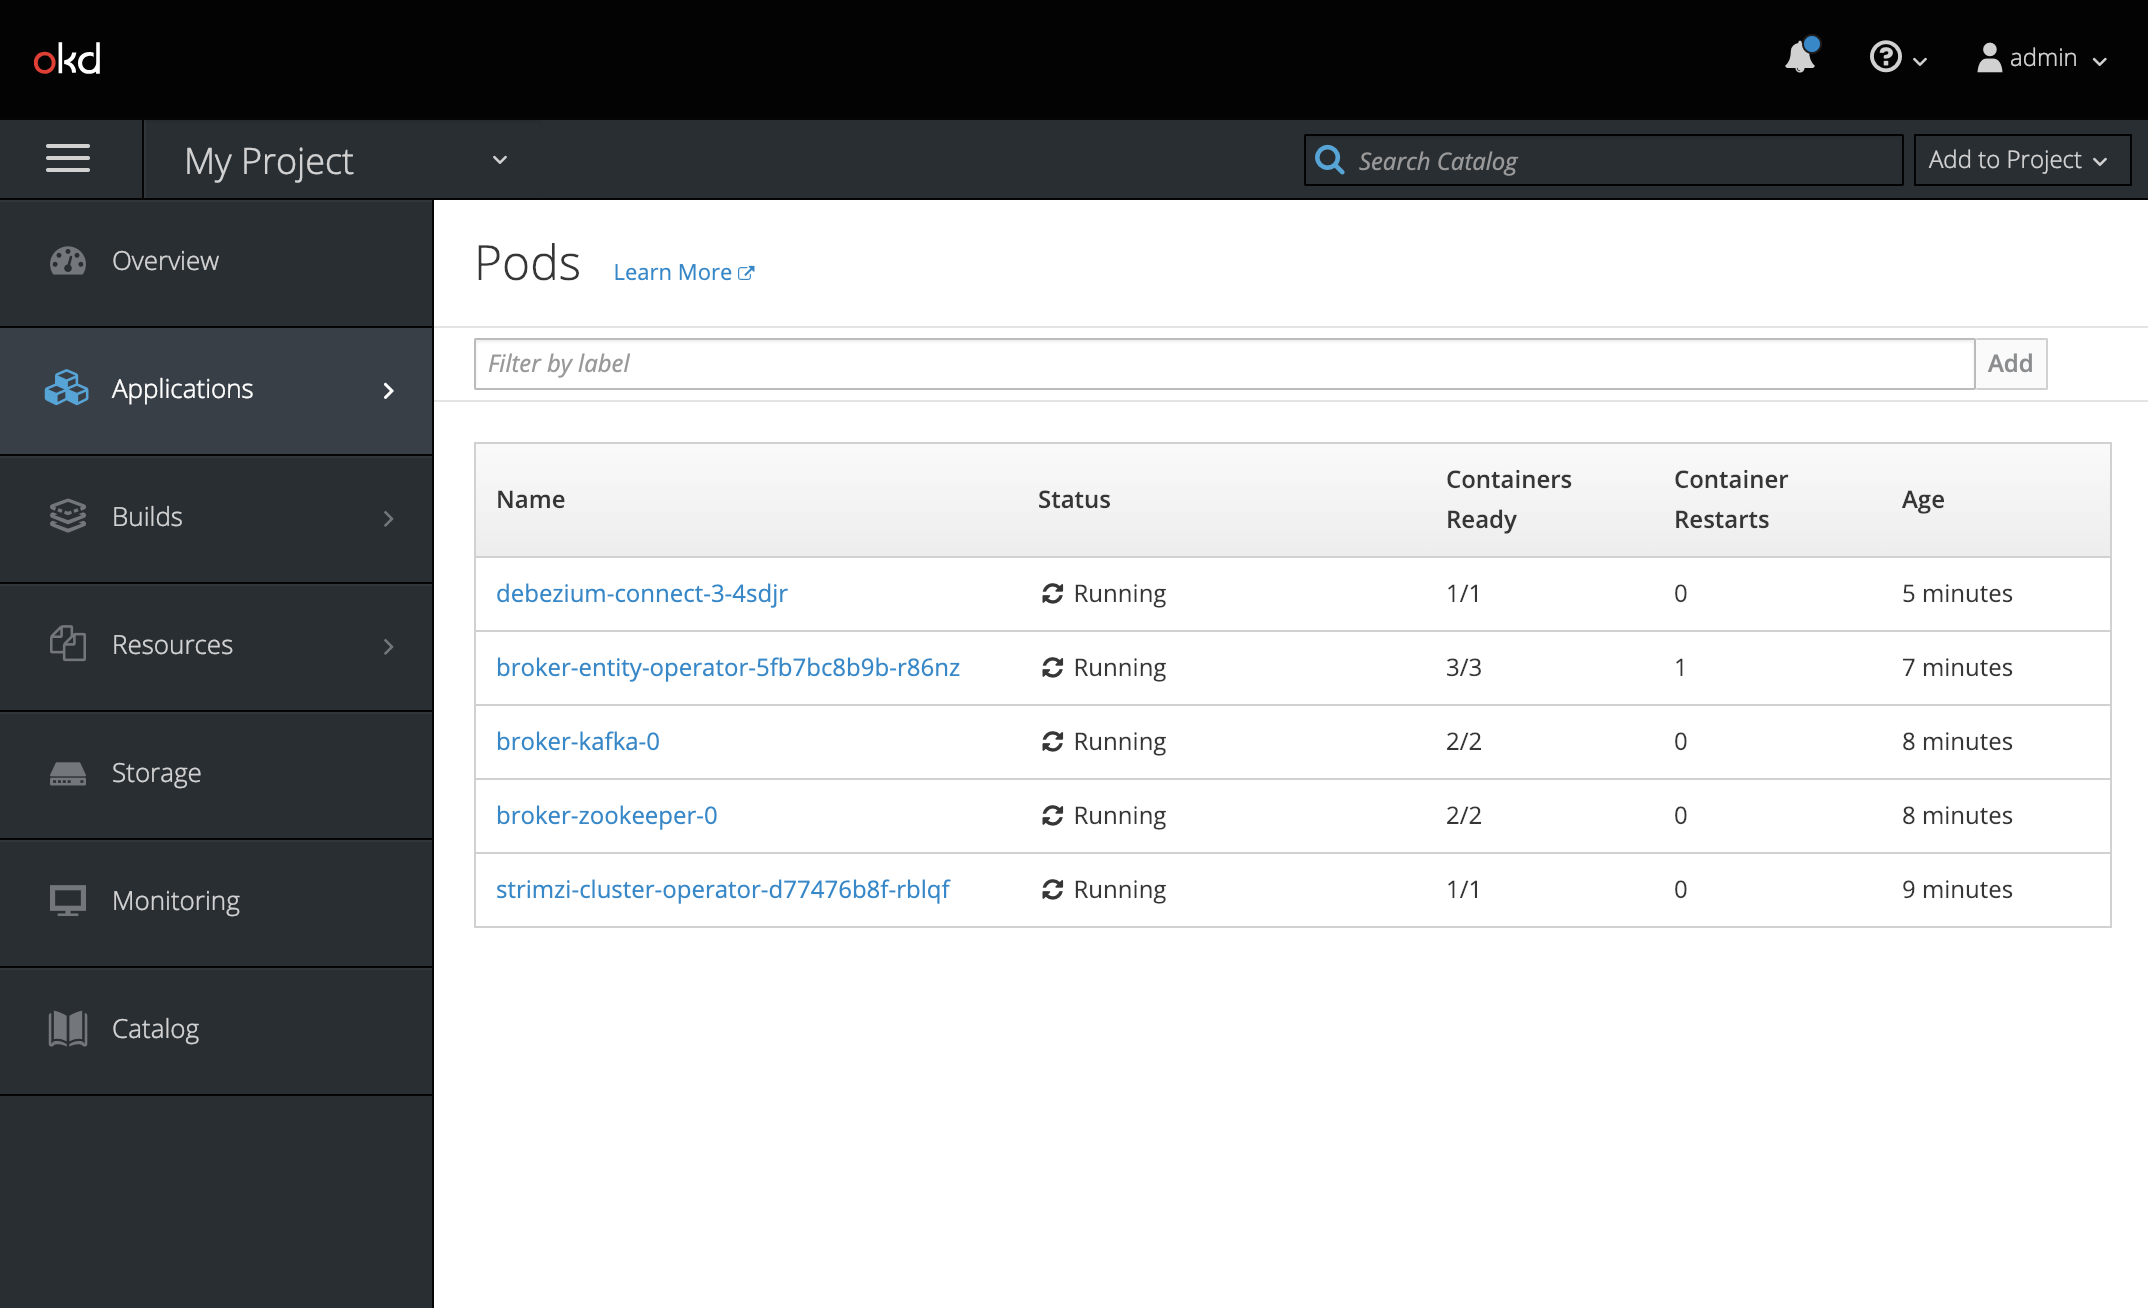
strimzi-cluster-operator-d77476b8f-rblqf 1/1 Running 0 5mAlternatively, you can go to the "Pods" view of your OpenShift Web Console (https://myhost:8443/console/project/myproject/browse/pods) to confirm all pods are up and running:
Verifying the Deployment
Verify whether the deployment is correct by emulating the Debezium Tutorial in the OpenShift environment.
Begin by starting a MySQL server instance that contains some example tables:
# Deploy pre-populated MySQL instance
oc new-app --name=mysql debezium/example-mysql:1.1

# Configure credentials for the database
oc set env dc/mysql MYSQL_ROOT_PASSWORD=debezium  MYSQL_USER=mysqluser MYSQL_PASSWORD=mysqlpw
A new pod with MySQL server should be up and running:
oc get pods
NAME                             READY     STATUS      RESTARTS   AGE
...
mysql-1-4503l                    1/1       Running     0          2s
mysql-1-deploy                   1/1       Running     0          4s
...
Register the Debezium MySQL connector to run against the deployed MySQL instance:
oc exec -i -c kafka broker-kafka-0 -- curl -X POST \
    -H "Accept:application/json" \
    -H "Content-Type:application/json" \
    http://debezium-connect-api:8083/connectors -d @- <<'EOF'

{
    "name": "inventory-connector",
    "config": {
        "connector.class": "io.debezium.connector.mysql.MySqlConnector",
        "tasks.max": "1",
        "database.hostname": "mysql",
        "database.port": "3306",
        "database.user": "debezium",
        "database.password": "dbz",
        "database.server.id": "184054",
        "database.server.name": "dbserver1",
        "database.whitelist": "inventory",
        "database.history.kafka.bootstrap.servers": "broker-kafka-bootstrap:9092",
        "database.history.kafka.topic": "schema-changes.inventory"
    }
}
EOF
Kafka Connect’s log file should contain messages regarding execution of the initial snapshot:
oc logs $(oc get pods -o name -l strimzi.io/name=debezium-connect)Now you can read change events for the customers table from the corresponding Kafka topic:
oc exec -it broker-kafka-0 -- /opt/kafka/bin/kafka-console-consumer.sh \
    --bootstrap-server localhost:9092 \
    --from-beginning \
    --property print.key=true \
    --topic dbserver1.inventory.customers
You should see an output like the following (formatted for the sake of readability):
# Message 1
{
    "id": 1001
}

# Message 1 Value
{
    "before": null,
    "after": {
        "id": 1001,
        "first_name": "Sally",
        "last_name": "Thomas",
        "email": "sally.thomas@acme.com"
    },
    "source": {
        "name": "dbserver1",
        "server_id": 0,
        "ts_sec": 0,
        "gtid": null,
        "file": "mysql-bin.000003",
        "pos": 154,
        "row": 0,
        "snapshot": true,
        "thread": null,
        "db": "inventory",
        "table": "customers"
    },
    "op": "c",
    "ts_ms": 1509530901446
}

# Message 2 Key
{
    "id": 1002
}

# Message 2 Value
{
    "before": null,
    "after": {
        "id": 1002,
        "first_name": "George",
        "last_name": "Bailey",
        "email": "gbailey@foobar.com"
    },
    "source": {
        "name": "dbserver1",
        "server_id": 0,
        "ts_sec": 0,
        "gtid": null,
        "file": "mysql-bin.000003",
        "pos": 154,
        "row": 0,
        "snapshot": true,
        "thread": null,
        "db": "inventory",
        "table": "customers"
    },
    "op": "c",
    "ts_ms": 1509530901446
}
...
Finally, the next example modifies some records in the customers table of the database:
oc exec -it $(oc get pods -o custom-columns=NAME:.metadata.name --no-headers -l app=mysql) \
    -- bash -c 'mysql -u $MYSQL_USER -p$MYSQL_PASSWORD inventory'

# For example, run UPDATE customers SET email="sally.thomas@example.com" WHERE ID = 1001;
You should now see additional change messages in the consumer started before.
If you have any questions or requests related to running Debezium on OpenShift, let us know via our user group or in the Debezium developer’s chat.